Footbridge
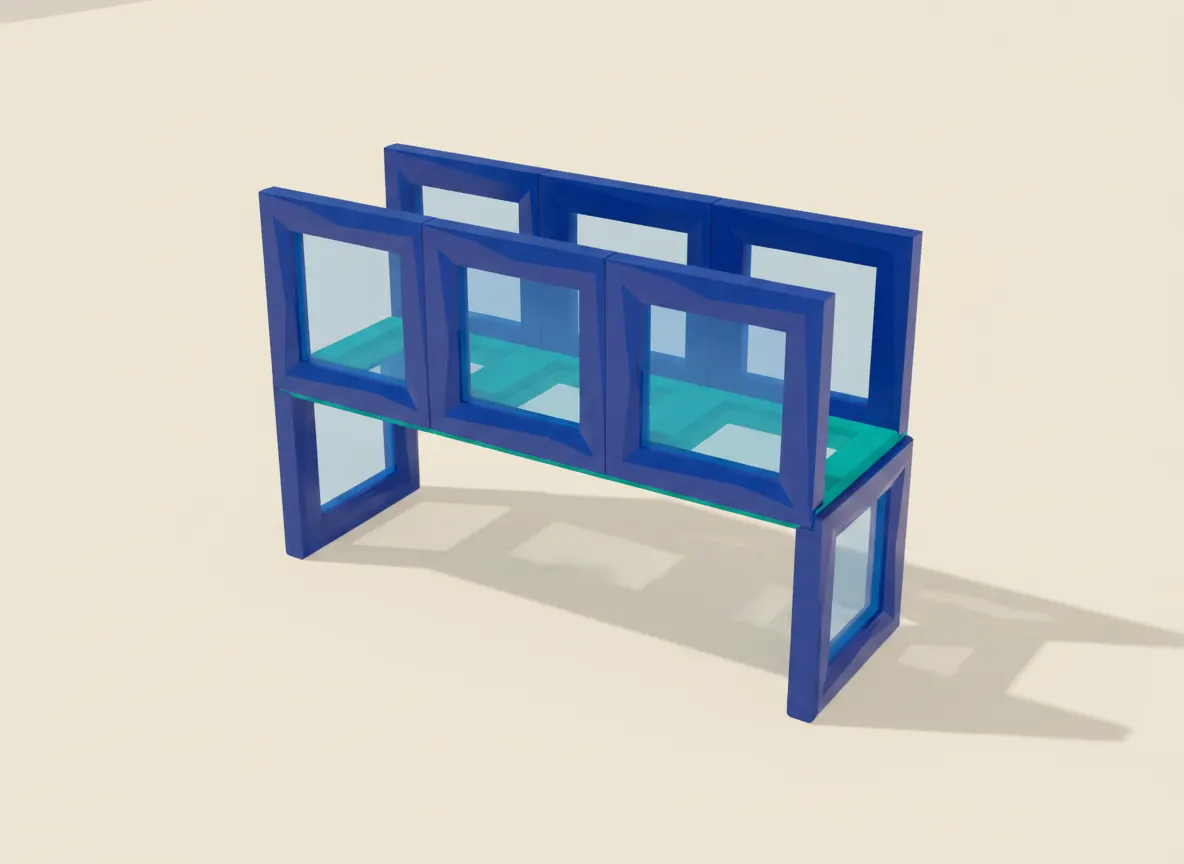
Step 1 of 3 · add 2 tiles
Stand the two supports
Stand a single tile on its edge at each end, a three-tile gap apart, both facing across the bridge.
Open this build in the play room
The trick
Three tiles snapped edge to edge behave as one stiff plank, so a support under each end holds the whole middle up over open air.
What you will need
- 11 square tiles
Step by step
1. Stand the two supports
Stand a single tile on its edge at each end, a three-tile gap apart, both facing across the bridge.
2. Lay the deck
Lay three flat tiles in a row across the tops of the two supports so they lock into one plank.
3. Add the handrails
Stand a tile on edge along each long side of every deck tile so the rails snap into two continuous handrails.
This build works with any standard-footprint tile, so the brand you own matters less than the count. Short on tiles for it? The first-pack guide covers how to grow a collection without overpaying, the brand ranking covers which sets hold a build this size, and the compatibility guide covers mixing a cheap set into one you already have.