Build ideas / Flat arrow pointing right
Flat arrow pointing right
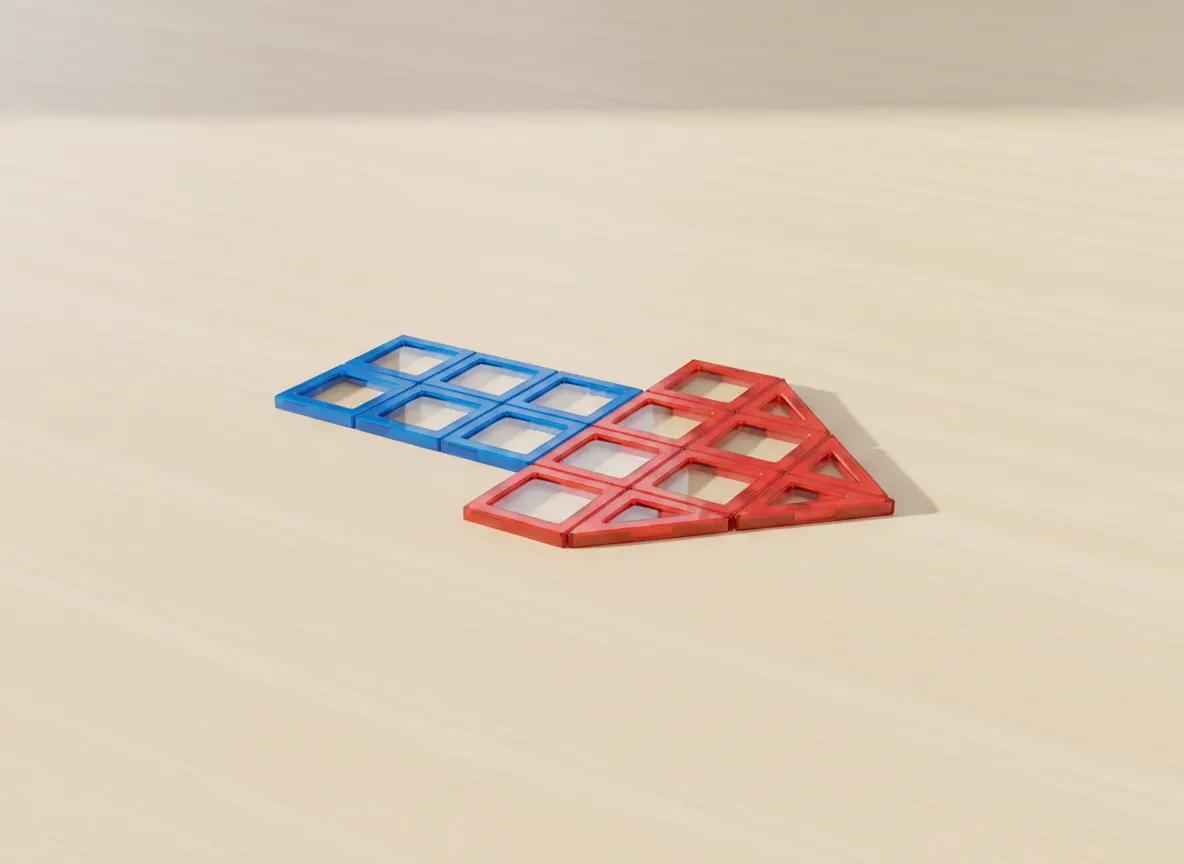
Step 1 of 3 · add 6 tiles
Lay the shaft
Lay six squares as a two-high, three-long block for the tail of the arrow, every square touching its neighbour along a full edge.
Open this build in the play room
The trick
The point is two right triangles that meet along one full edge down the middle, so the tip locks flat instead of hinging open, and the head sits taller than the shaft so it reads as an arrow, not a bar.
What you will need
- 12 square tiles
- 4 right-angle triangle tiles
Step by step
1. Lay the shaft
Lay six squares as a two-high, three-long block for the tail of the arrow, every square touching its neighbour along a full edge.
2. Widen the head
On the front edge stand a taller column of four red squares, then add two more squares in front of the middle two so the head steps out wider than the shaft.
3. Bring it to a point
Cap the top and bottom of the head with a right triangle each, then close the tip with two more triangles that meet at a single point.
Short on tiles for this one? The first-pack guide covers how to grow a collection without overpaying.