A-frame garage
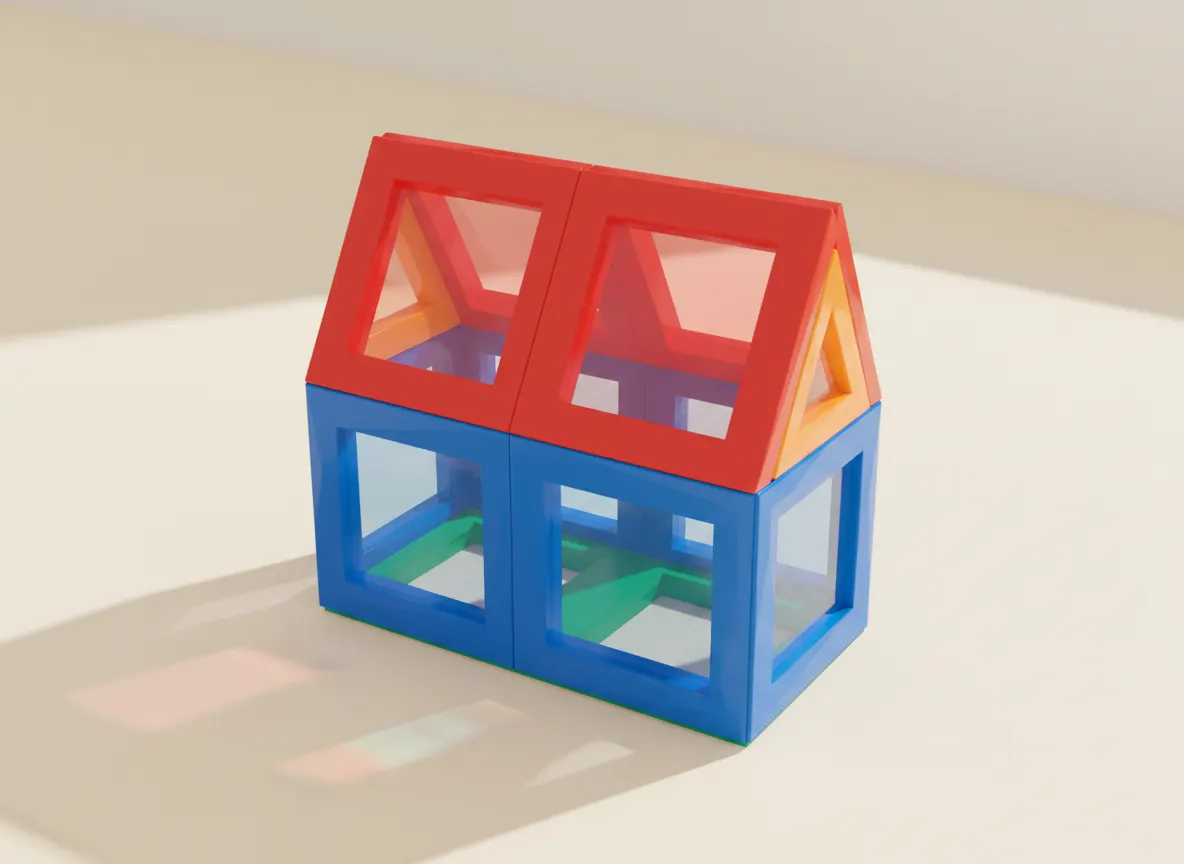
Step 1 of 4 · add 2 tiles
Lay the floor
Put two squares flat, one behind the other. This is a garage you drive into end-on.
Open this build in the play room
The trick
Two roof squares lean up to meet at the ridge, and one triangle drops into the gap at the back to close the peak. The triangle is what stops the two roof panels from splaying apart.
What you will need
- 11 square tiles
- 1 triangle tiles
Step by step
1. Lay the floor
Put two squares flat, one behind the other. This is a garage you drive into end-on.
2. Stand the side and back walls
Stand two squares up each long side, then one more across the back. Leave the front end open.
3. Lean the roof up to a ridge
Lean two squares up from each side wall so they meet in a line down the top.
4. Fill the back peak
Drop one triangle into the triangle-shaped gap at the back, under the ridge.
This build works with any standard-footprint tile, so the brand you own matters less than the count. Short on tiles for it? The first-pack guide covers how to grow a collection without overpaying, the brand ranking covers which sets hold a build this size, and the compatibility guide covers mixing a cheap set into one you already have.